Yesterday I needed to replace a dead CMOS battery in a Gateway ZX4300 All-in-One. This YouTube video shows how to get the outer case off but doesn’t show how the motherboard or how to remove it. This Fixya article says the CMOS battery is between the motherboard and the screen, which is correct. Here are a few pictures to fill in the information gaps.
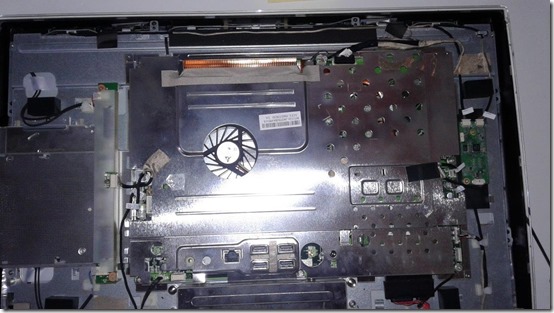
Here’s how it looks after removing the back of the computer as shown in the video. (Although not shown in the video, you have to remove four screws from the corners of the case before you can remove the back.)
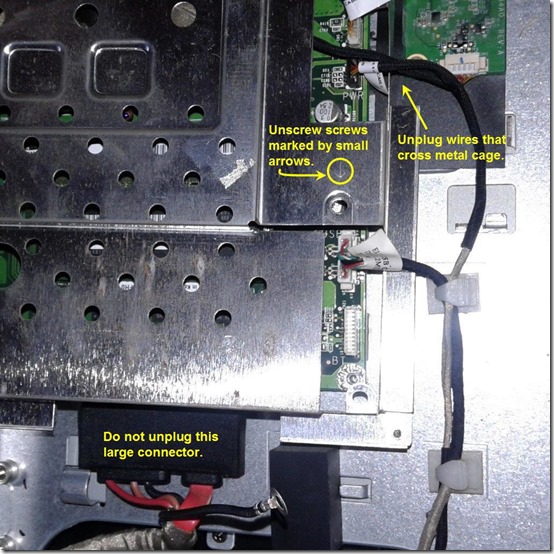
To get the metal cage off, unscrew the screws marked by small arrows all around the cage. Unplug the wires which go over the edges of the cage (which is most of them). Take pictures as you go so you can remember where to replace cables, paying particular attention to screws that go through wire lugs for grounding. Note: you do not need to remove the hard drive before removing the large metal cage over the motherboard.
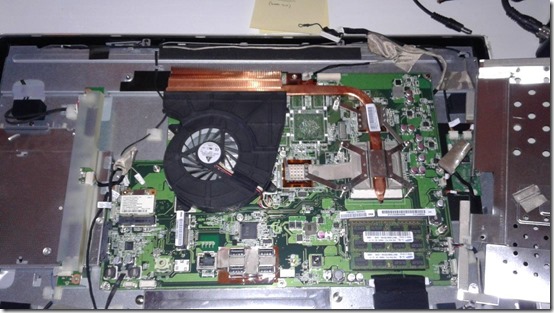
Here is the cage tilted to the right, exposing the motherboard. I think I had to unplug another wire before it came off completely. A couple of the wires are taped to the cage; you’ll have to peel back the tape.
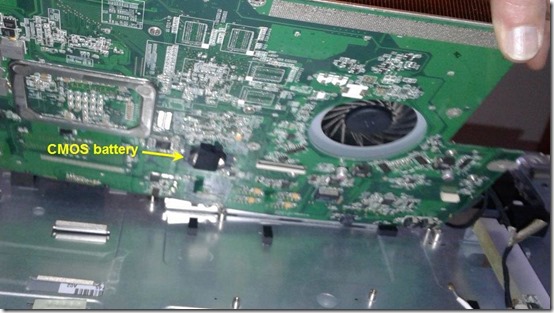
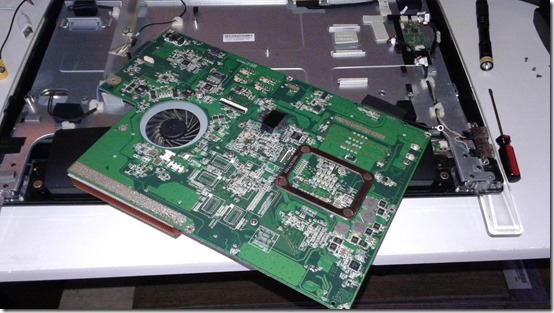
There were a few screws holding down the motherboard, including two through the fan mount (if I recall correctly). Remove those and tilt the motherboard towards the bottom of the computer. Here you can finally see the CMOS battery.
Replace the battery and reverse the process to re-assemble.

Easy understanding procedure, thanks
what’s the memory (DDR2 or DDR3?) and what’s the max?
@Leary, if you are interested in the specs of this computer, I don’t have them handy. This article is about how to access the CMOS battery.